Delicious marble cake, fluffy and full of flavor. It is a classic recipe and here on my blog I had already shared both a cake and some marble muffins made with oil, and on my YouTube channel I already had a version from years ago of a marble cake made with a combination of butter and oil. This time I wanted to make the cake with only butter, to have another option and because the flavour that butter provides is delicious. To make it spectacular, some aspects must be considered.
Important details
As it is a cake made with butter, it is important that there are other ingredients that allow the cake to have a moist and tender texture once baked. That’s one of the reasons I chose to use buttermilk (or in this case its substitute, sour milk) as the liquid in this marbled cake recipe, since the acidity of this ingredient reacts with the baking soda not only to help in leavening the cake but also to have a moist crumb.
Sugar also plays an important role in the texture of the cake, which is why this is a “high ratio” recipe. The sugar in the sponges or in general as an ingredient absorbs moisture and maintains it, so when used in a high proportion, that sugar provides the delicate texture that is being sought. Considering this, the recipe is not healthy at all, but it is one of those sporadic pleasures that we can give ourselves from time to time or on a special occasion.
I have used unsalted butter in the recipe as I like to control the amount of salt added to the cake. But you can use salted butter and omit the salt from the recipe. In the same way, you can use salted margarine if you prefer, the important thing is that it is a brand that you like its flavour, because the fat combined with the cocoa powder is what predominantly gives flavour to this marble cake.
All ingredients in the recipe should be at room temperature. The butter must have a spreadable consistency, but it must not be melted, it must maintain texture so that it can cream well with the sugar. The process of beating the butter with the sugar and vanilla incorporates air into the batter and, together with the baking powder and bicarbonate, gives the cake its height. Creaming should be done at high speed and these ingredients are beaten until they have a fluffy texture, and the butter is paler. Usually, 5 minutes of beating is enough, but more may be needed, depending on the temperature at which the butter started.
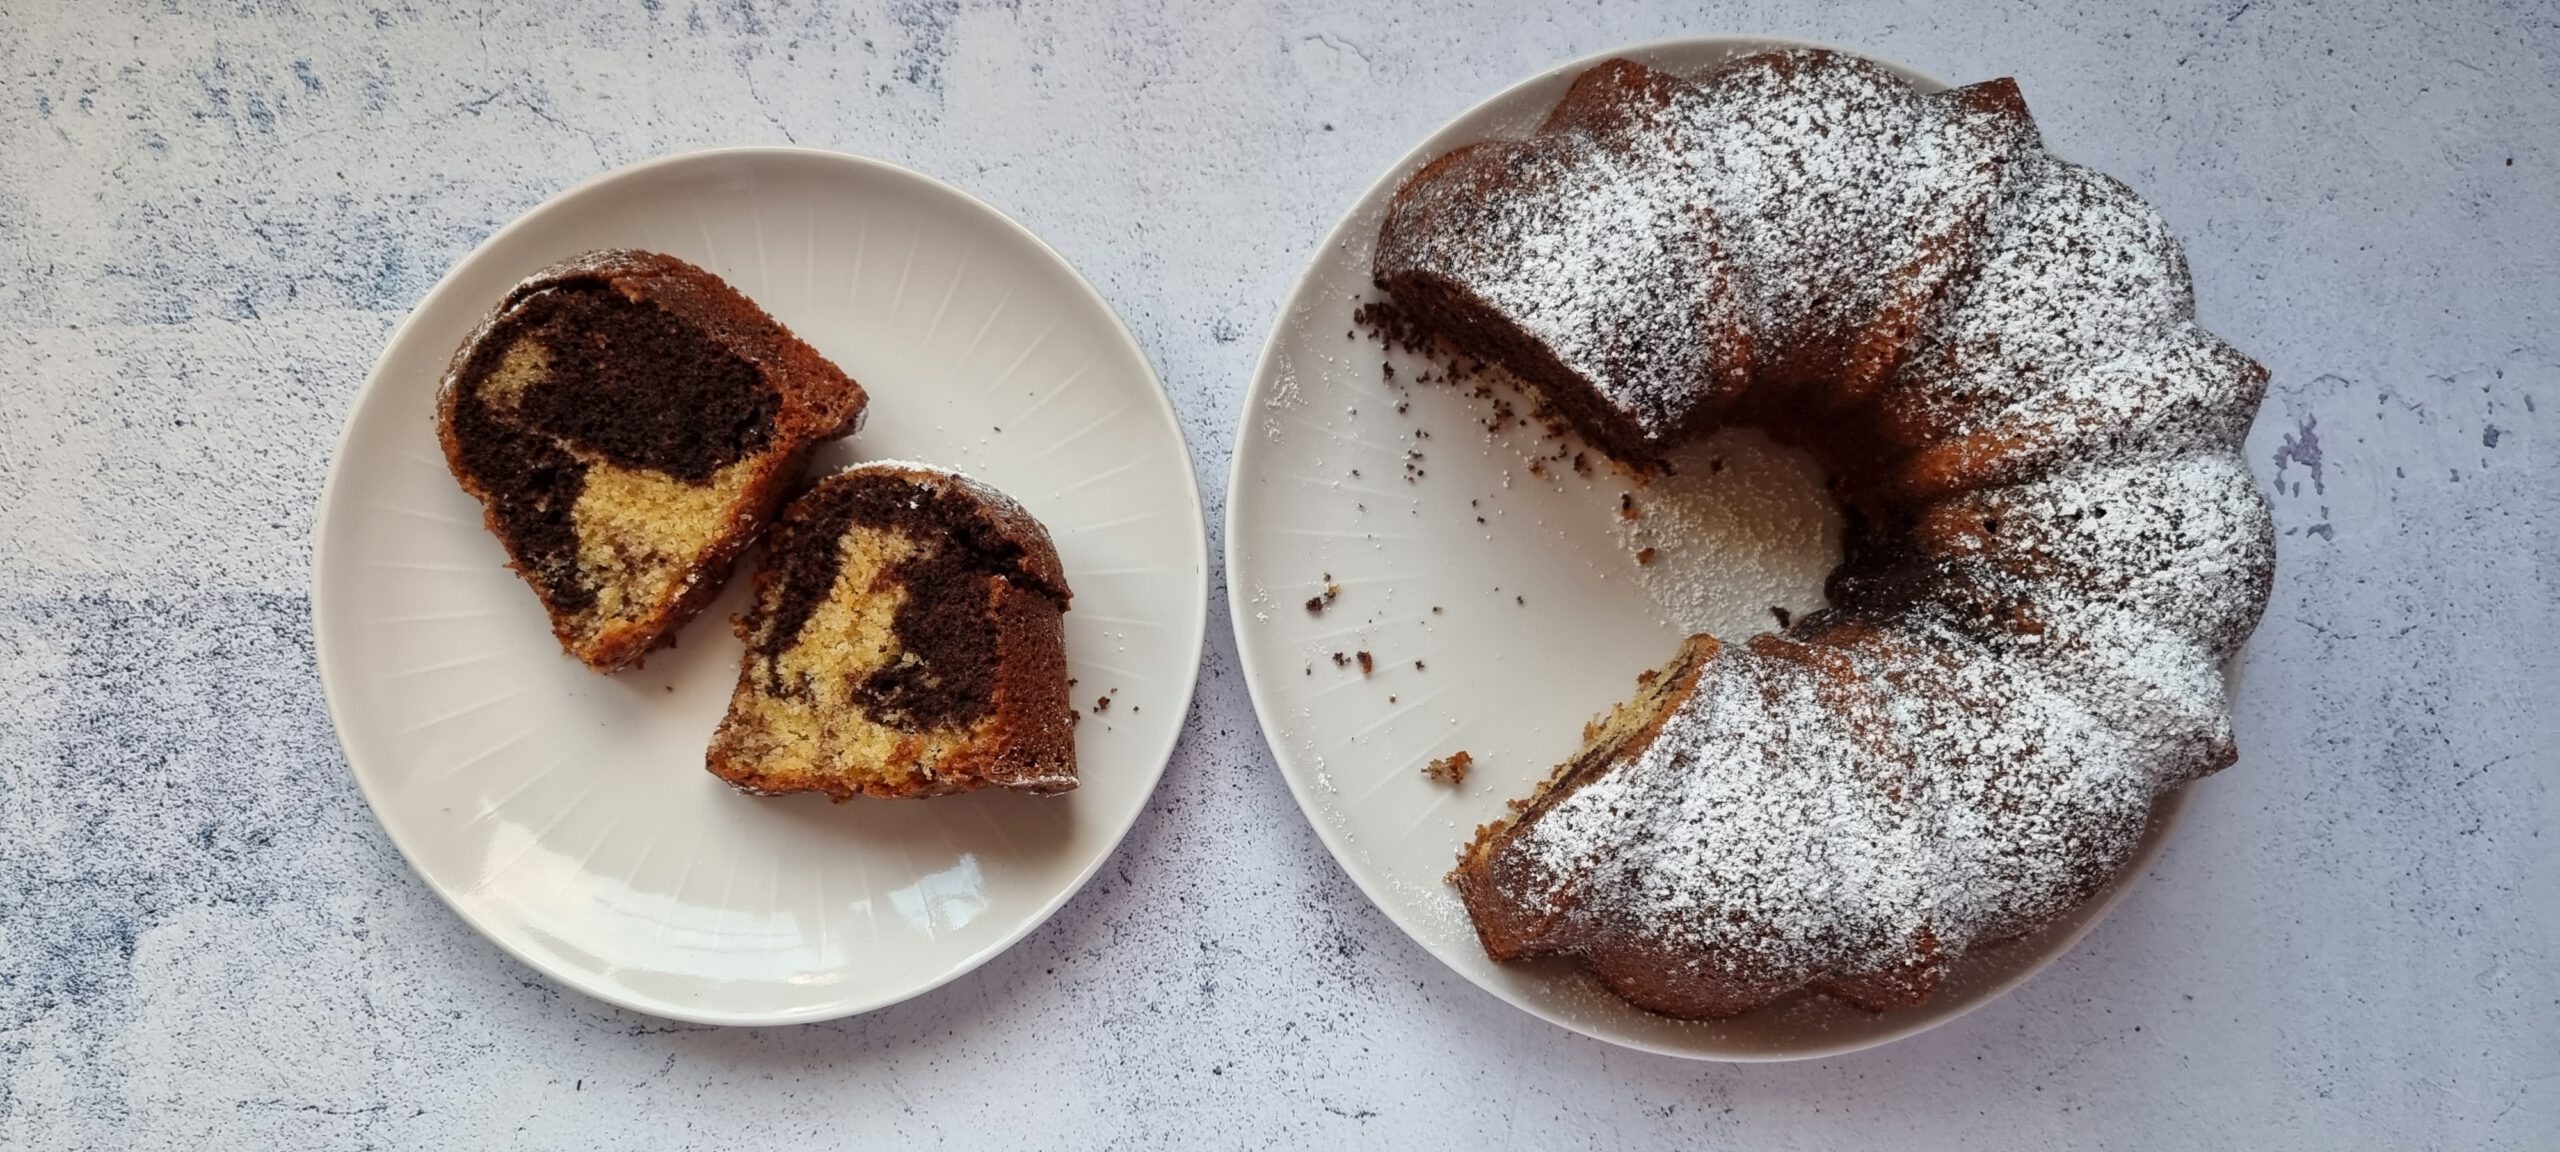
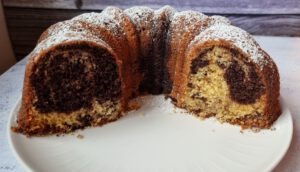
I have baked this cake in a 26cm diameter bundt pan, which I greased using non-stick cooking spray. You can butter and flour the pan if you prefer. When transferring the mixture to the pan I first added half of the vanilla batter, then added the cocoa powder to the rest of the batter in the bowl and incorporated it to make it into a chocolate mixture and then transferred that batter on top of the vanilla mixture in the pan. If you prefer, you can separate both mixtures in two different bowls and transfer them to the pan alternating the flavors. The idea is that both batters are distributed throughout the pan so that it has the desired marbled effect. Do not overmix once the batters are both in the pan, to prevent everything from turning into a full chocolate cake.
The oven temperature I have used has been 160°C / 320°F, top and bottom heat with no fan. For a long time, my favourite temperature had been 180°C or 350°F but ever since I baked the vanilla pound cake cake at 160°C I have loved how level it rose in the pan and how much it puffed up. At 180°C it sometimes happened to me that if it was a large cake, it would take on colour too early in baking and I had to open the oven door to cover it with aluminum foil. In the end, this didn’t affect the texture of the cake too much, but I did notice a difference when baking at 160°C. It bakes longer, and I don’t open the oven during baking, and I really think that has contributed to the flatter cakes. Each oven is different, so you will also have to experiment a bit to discover the ideal time for baking the cake and, if necessary, adjust the indicated temperature.
It can also be baked in regular round pans, and even layered. It must be considered in those cases that it will definitely be necessary to adapt the baking times.
And now, the recipe step by step:
Marble butter cake
Ingredients
- 280 g All-purpose wheat flour (2 cups)
- 2 tsp. Baking powder
- ½ tsp. Baking soda
- ½ tsp. Salt
- 40 g Cocoa powder (5 ½ Tbsp.)
- 4 medium Eggs (room temp.)
- 200 g Soft unsalted butter (¾ Cup + 1 Tbsp)
- 330 g Sugar (1 ⅔ Cup)
- 1 Tsp. Vanilla paste
- 125 ml Buttermilk (or the substitute) (½ Cup) Room temp.
Instructions
- Preheat the oven to 160°C / 320°F.
- Prepare a 26cm diameter bundt pan with non stick cooking spray.
- In a bowl sift the flour, salt, baking powder and baking soda. Mix and set aside.
- In the mixer bowl add the butter, sugar and vanilla.
- Beat on high speed for 5 minutes until fluffy and pale.
- Stop the mixer and with a spatula go around the sides and bottom of the bowl.
- Beat at medium low speed and add the eggs one by one. Let the egg incorporate well before adding the next.
- Stop the mixer again and go through the bowl with the spatula.
- Beat again now at minimum speed and gradually add the dry ingredients, alternating with the buttermilk.
- Once everything is incorporated, transfer half of the mixture to the prepared bundt pan.
- On the other half of the batter sift the cocoa powder. Mix until you get a chocolate batter.
- Add the chocolate mixture to the bundt pan and mix a little with a spatula or teaspoon, to make the marbled effect. Do not over mix.
- Transfer to the preheated oven and bake for approximately 40 minutes or until puffed and golden brown and a toothpick inserted into the deepest part of the cake comes out completely clean.
- Remove from the oven and let rest for 10 minutes on a wire rack.
- Unmold onto rack and let cool completely to room temperature.
- Once cold, you can sprinkle with icing sugar before serving.
Notes
1. Buttermilk Substitute: To a half cup of whole milk add 1 tablespoon of lemon juice. Stir and let stand 10 minutes before using in recipe.
And this incredibly rich marble cake will be ready. The result is worth it, the flavour and texture are the best.
The cake will keep at room temperature for a couple of days if the weather is not too hot and/or moist. If that is the case, it is better to keep it refrigerated, considering that when it is cold it becomes hard because it contains butter, and dries out a bit. It is important to take it out about 15 minutes before eating or serving it so that it has a better texture when eaten.
To keep it moist at room temperature, it is important to store it in a cake carrier or cake keeper with a lid, so that it does not lose too much moisture. It can also be frozen by wrapping it very well in plastic wrap. Frozen can last up to 3 months.
I hope you liked the recipe.
If you prepare this delicious marble sponge cake with butter, I would love to know about it and see your photos. You can send them to me via Instagram or Facebook to @poramoralhorno.
Legal notice: This page may contain affiliate links. I may receive a commission for purchases made through these links. There are no additional costs for you. Where, when and how you buy a product, of course, is up to you alone.
Thank you very much for reading this far and see you in the next recipe.
You might be interested in:
https://youtu.be/p0N3cmHYHoo
https://youtu.be/zUyg2FzCDYM
One thought on “Marble butter cake – recipe step by step”